- Typing “4K” into the Gemini app does not change the resolution. The app downloads at 1K without a Google AI plan and 2K with one, no matter what your prompt says.
- What a prompt really controls is detail, texture and sharpness. The 8 prompts below target exactly that instead of chanting “4K, 8K, ultra HD”.
- For a real 4096px file the route is not the app: set
image_sizeto4Kin Google AI Studio or the Gemini API. AI Studio lets you do this on the free tier. - The second thing that decides your output size is aspect ratio. The same “4K” setting gives 4096x4096 at 1:1 and 5504x3072 at 16:9.
Search “gemini 4k photo prompt” and nearly every result hands you the same thing: a block of text that says “4K, HD, ultra detailed, 8K, sharp, masterpiece” fifteen times, with instructions to paste it. Paste it and the file you download is exactly the same pixel size it was before. Resolution is not a prompt. It is an output setting.
This guide splits in two. First, what a prompt genuinely buys you inside the app, with 8 prompts you can copy. Then the actual route to a 4096px file, step by step. 👇
Let’s Clear Up the Confusion First
Gemini has three image models right now, and two of them can produce 4K:
| Model | Model ID | Supported resolutions |
|---|---|---|
| Nano Banana 2 | gemini-3.1-flash-image | 512px, 1K, 2K, 4K |
| Nano Banana Pro | gemini-3-pro-image | 1K, 2K, 4K |
| Flash Lite Image | gemini-3.1-flash-lite-image | 1K only |
All three default to 1K. Touch nothing and you get roughly a 1000px frame. 2K and 4K are a separate output tier opened by the image_size field, not by wording.
The Gemini app never exposes that field. In the app, download quality depends on your account: 1K without a plan, 2K with a Google AI plan. Which Nano Banana model drew the picture makes no difference to that cap. Downloading a 4K file from the app is currently not possible.
What a Prompt Actually Changes
Two frames at the same resolution can look worlds apart. What makes a photo read as “4K” is not the pixel count but the information inside those pixels: skin texture, fabric weave, separated hair strands, clean bokeh, highlights that are not blown out.
Those you can steer with a prompt. File size, pixel dimensions and compression you cannot. The prompts below stick to the first group, which is why they work in the app and in AI Studio alike.
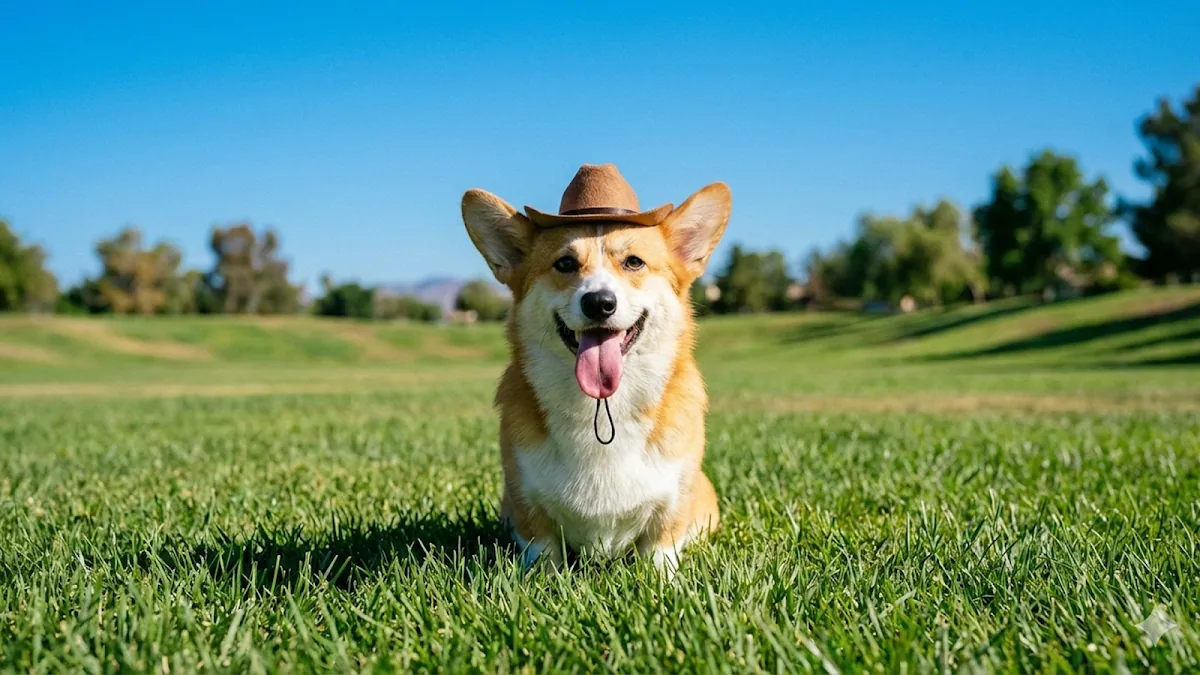
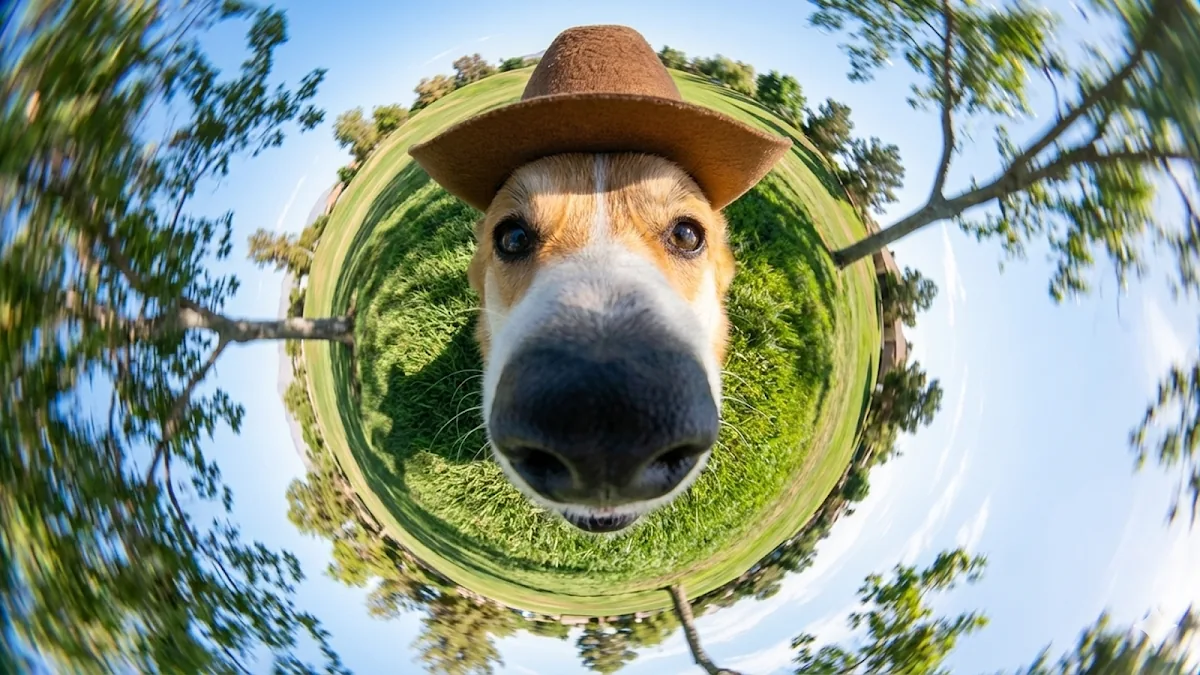
Two frames from the same source, with nothing changed but the prompt. Resolution is identical in both; the camera angle is not:
Three rules before any of them:
- Do not upload a screenshot. A twice-compressed photo has already thrown away the detail you are asking for. Give it the original file.
- Send the prompt as one message. Requests broken into bullet points get averaged, not executed in order.
- Keep the identity line if there is a person. These models do not filter your photo, they summarise it and redraw it from scratch. Without “preserve the facial features exactly”, the face drifts.
1. Sharpening and Detail Recovery
The most searched one. Works on frames that are soft rather than genuinely blurred.
Increase the sharpness and level of detail in this photo. Preserve the person's facial features, proportions and identity exactly, do not change the face. Bring back skin texture, pores and individual hair strands, do not smooth the skin. Sharpen the catchlights in the eyes and separate the eyelashes. Bring out fabric texture. Keep the composition, crop, colour and lighting identical. Do not over-sharpen, do not create halos or edge glow.
That last sentence is the important one. Drop it and the model adds a white halo around every edge, which is the unsharp-mask look from 2004.
2. Rescuing a Genuinely Blurred Frame
If the first prompt did nothing, the shot is blurred from motion or missed focus, not softness:
This photo has motion blur. Recreate the scene sharply at the same angle, same crop and same lighting. Preserve the person's facial features, proportions and identity exactly, do not change or beautify the face. Keep the clothing, background and colours the same. Natural photographic look, realistic skin texture, no artificial glow.
The model is no longer sharpening here, it is redrawing the scene, so the likeness drifts more than with the first prompt. Expect two or three attempts.
3. Restoring an Old, Faded Photo
For scanned family photos. Asking for colour correction as a separate instruction measurably improves the result.
Restore this old photograph. Remove scratches, dust, creases and stain marks. Return the faded colours to natural tones and correct the yellow and red colour cast. Preserve everyone's facial features and identity exactly, do not blend their faces, do not make anyone look younger. Keep the period clothing, hairstyles and background as they are. Preserve the original film grain, do not give it a digital or plastic finish.
“Do not make anyone look younger” is not optional. These models treat age as a defect during restoration and will hand your grandfather back to you at thirty.
4. The 4K Portrait Look
Not pixels, portrait quality. For frames that should read as studio work.
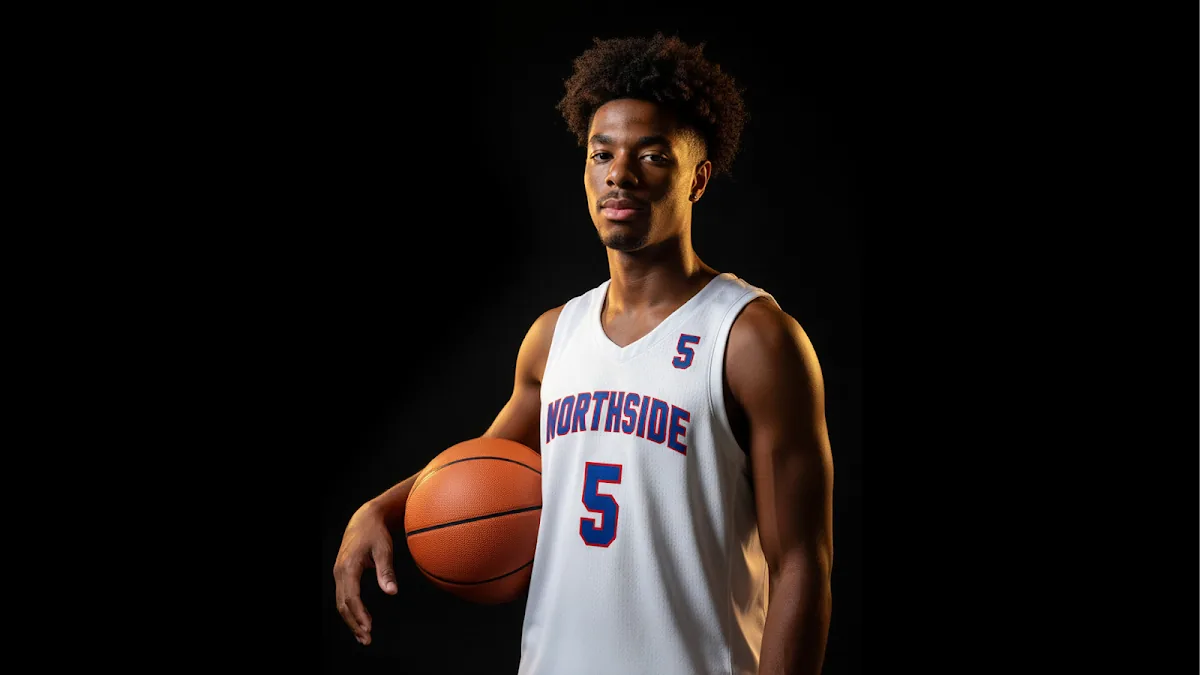
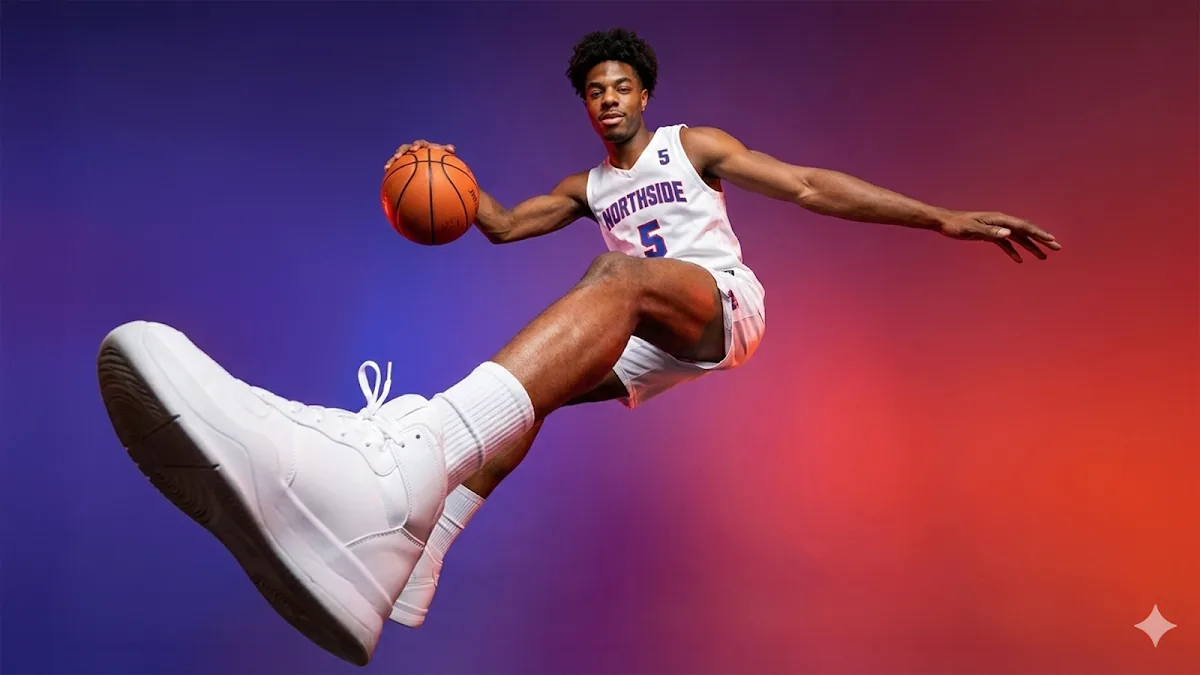
Raise this photo to high-resolution studio portrait quality. Preserve the person's facial features, proportions and identity exactly. Soft directional key light, gentle fill, smooth clean bokeh in the background. Realistic skin texture with visible pores, do not add makeup. Eyes sharp and alive, eyelashes separated. Natural colour balance, no blown highlights, clean shadow transitions. 4:5 ratio, chest up.
Describing the lighting setup and the backdrop changes the character of a portrait completely:
5. The Cinematic Look
What the “cinematic” searches are really after. Without describing colour separation and light direction, nothing cinematic comes out.
Rework this photo as a cinematic frame. Preserve the person's facial features and identity exactly. Warm key light from one side, cool-toned fill on the opposite side. Deep but detailed shadows, soft highlights. Light film grain, medium focal length rather than wide, shallow depth of field. Colour separation: warm skin tones against a cool background. 21:9 ratio, low-contrast cinematic grade.
Asking for 21:9 does two jobs at once here: it sets the look, and it decides the pixel dimensions you will get if you later push this to 4K.
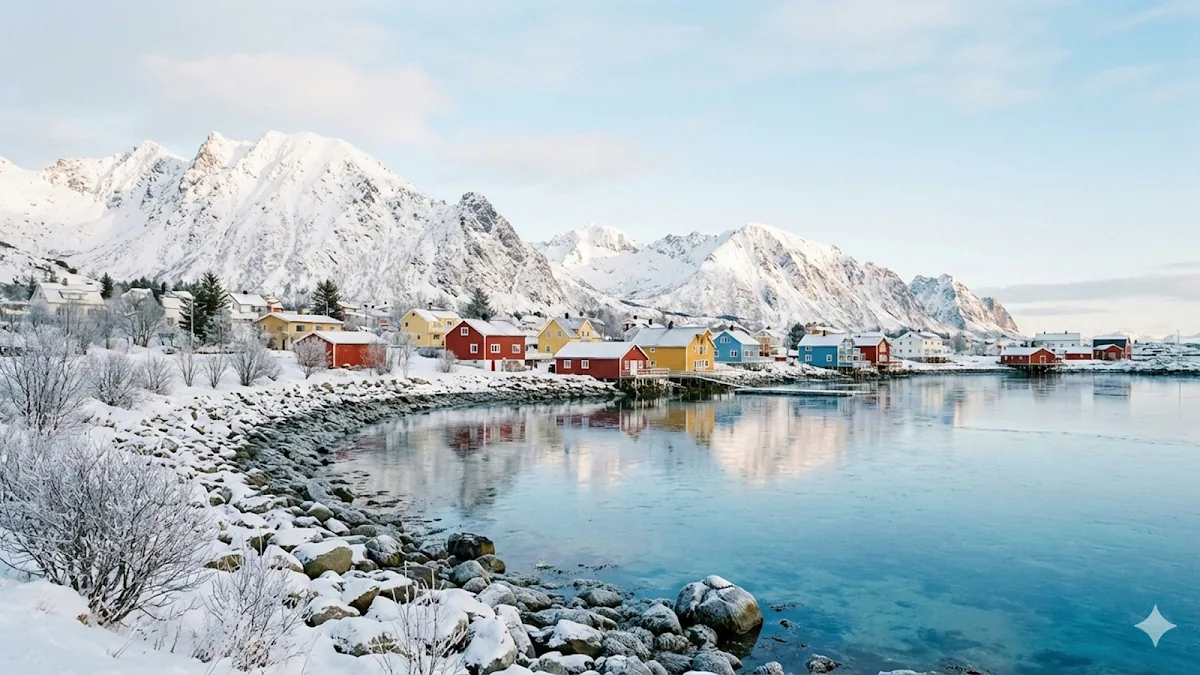
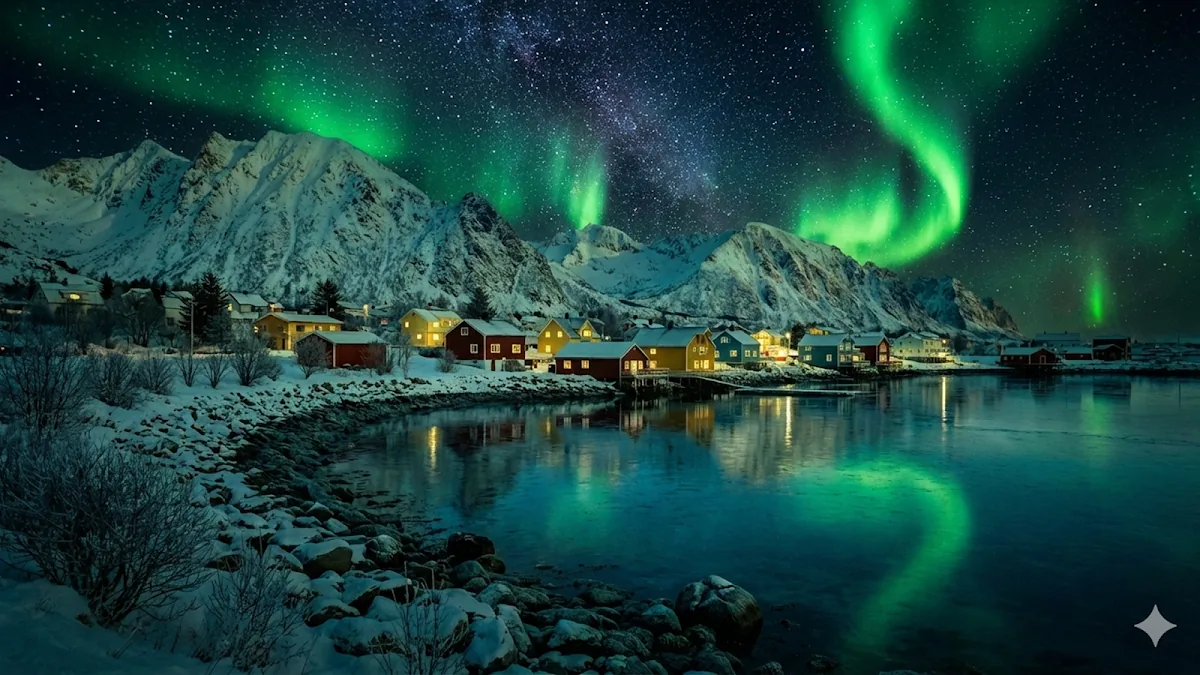
Changing the hour of the light works the same way. The only difference between these two frames is the time of day described in the prompt:
6. Changing the Background Without Losing Quality
The operation that breaks most often. Asked to change the background, the model usually redraws the subject too.
Keep the person in this photo exactly as they are: facial features, identity, pose, clothing, hair and the light falling on them must not change. Change only the background: a plain light grey studio backdrop with soft, even light. Keep edge transitions clean, no cutout artefacts or halos around the hair. Make the light direction on the subject consistent with the new background. Add a realistic shadow.
7. Product Photography
For a catalogue frame. Text and logo fidelity is where Nano Banana 2 is strongest.
Raise this product photo to catalogue quality. Preserve the product's shape, colour, material and all text on it exactly, do not alter or invent any text. Plain white background, soft softbox lighting, a light realistic shadow underneath. Surface texture and material reflections should read clearly. Remove dust, fingerprints and scratches. Product centred with margin around the edges, 1:1 ratio.
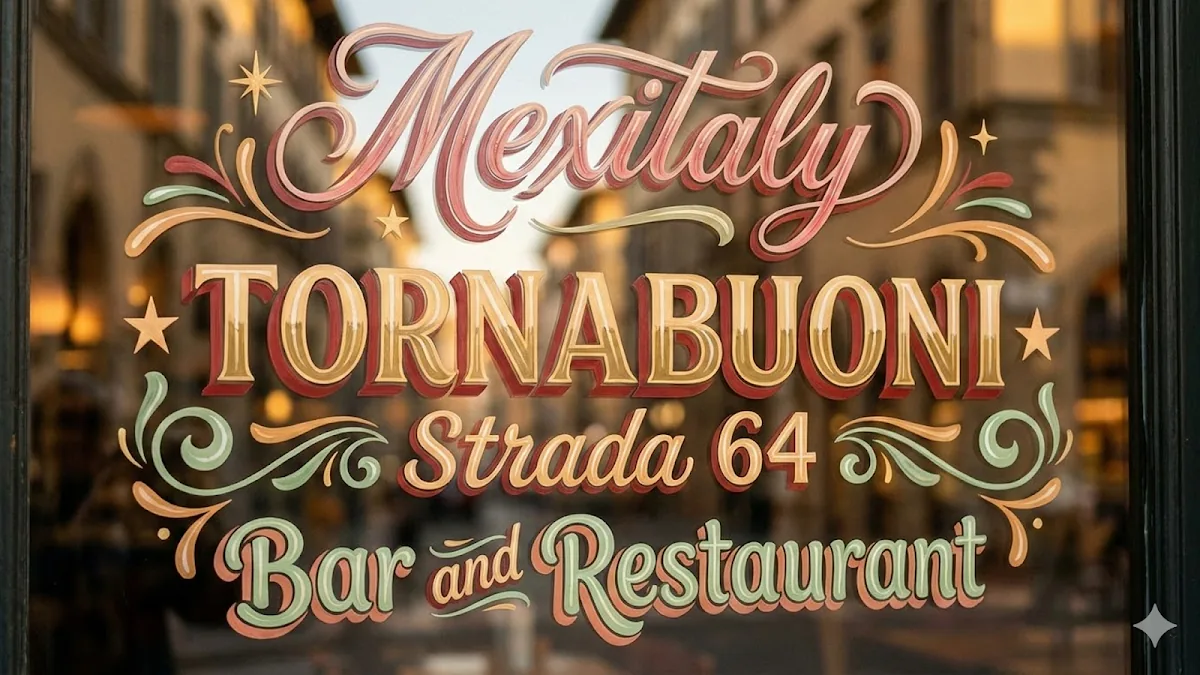
Without “do not alter or invent any text”, the model happily rewrites whatever is printed on the label.
This is where Nano Banana 2 improved most clearly over earlier versions: complex typography now comes out legible.
8. Print Preparation
This one is not enough on its own, it pairs with the 4K setting covered in the next section.
Prepare this image for large-format print. Keep the composition and colour. Strengthen fine detail, texture transitions and edge definition so they hold up at large scale. Clean up noise without losing texture. No banding or colour stepping, keep gradients smooth. 3:2 ratio, full-frame crop.
Aspect Ratio Decides Your Output Size
The same “4K” setting produces very different pixel dimensions depending on the ratio you pick. Google’s own demo shows a single image being reflowed across ratios:
What the 4K tier gives you on Nano Banana 2:
| Aspect ratio | 1K | 2K | 4K |
|---|---|---|---|
| 1:1 | 1024x1024 | 2048x2048 | 4096x4096 |
| 3:4 | 896x1200 | 1792x2400 | 3584x4800 |
| 4:3 | 1200x896 | 2400x1792 | 4800x3584 |
| 4:5 | 928x1152 | 1856x2304 | 3712x4608 |
| 9:16 | 768x1376 | 1536x2752 | 3072x5504 |
| 16:9 | 1376x768 | 2752x1536 | 5504x3072 |
| 21:9 | 1584x672 | 3168x1344 | 6336x2688 |
So at 16:9, “4K” actually means 5504px wide; square gives you 4096. If print is the goal, choose the ratio up front, because cropping afterwards gives back the pixels you just paid for.
Nano Banana 2 also supports extreme ratios like 4:1, 1:4, 8:1 and 1:8, and can blend up to 14 reference images in a single generation.
How to Get the Real 4K File
The app has no such setting. Google AI Studio does, and it is usable for free.
- Go to
aistudio.google.comand sign in with your Google account. - Pick Nano Banana 2 (
gemini-3.1-flash-image) or Nano Banana Pro (gemini-3-pro-image) as the model. - Choose your aspect ratio in the settings panel on the right.
- Set resolution to 4K. It arrives on 1K by default, and if you do not change it by hand you will not get 4K.
- Upload your photo and paste one of the prompts above as a single block.
- Download the result. The file now comes out at 4096px, or whatever your chosen ratio maps to.
On the API side the same setting lives inside response_format:
interaction = client.interactions.create(
    model="gemini-3.1-flash-image",
    input="Increase the sharpness and level of detail in this photo...",
    response_format={
        "type": "image",
        "mime_type": "image/png",
        "aspect_ratio": "16:9",
        "image_size": "4K"
    },
)
image_size accepts "512", "1K", "2K" and "4K". The 512px tier exists only on Nano Banana 2, and Flash Lite Image produces 1K only.
On cost: a 4K output bills at 2520 output tokens on Nano Banana 2 and 2000 on Nano Banana Pro, roughly double 1K. That adds up across a batch job and is invisible if you are making images one at a time.
Four Common Mistakes
Overloading the prompt. The “4K, 8K, HDR, ultra realistic, masterpiece, best quality” chain is a habit carried over from the Stable Diffusion era. Gemini 3 models follow instructions far more literally and read that pile as a contradictory style request. Plain sentences win every time.
Expecting a big output from a small source. Ask for 4K from a 600px frame and the model invents the missing detail. Faces stop being recognisable and text falls apart. Use the largest original you have.
Re-processing the same image over and over. Each pass means the model reinterpreting its own output. By the third round it is no longer your photo. If you do not like a result, go back to the original and change the prompt instead.
Fixing the ratio afterwards. Generating 1:1 and cropping to 16:9 turns a 4096px square into 4096x2304. Choose the ratio before you generate.
Watermarks and SynthID
Every image Gemini generates or edits carries SynthID, a digital signature embedded in the pixels themselves. It is invisible, and it largely survives cropping and re-saving. The point is to keep the image verifiable as AI-generated after the fact. You can check any picture by uploading it to the Gemini app and asking whether Google’s AI made it.
Separate from that, there is the visible watermark in the corner. Google One AI Pro and Ultra subscribers can switch it off under their profile picture, in the “Visible watermark” toggle. That switch controls only the visible mark: SynthID and Content Credentials data stay inside the file either way.
If you want to move past quality prompts into style, the same prompt structure powers our 80s AI photo prompts and 90s AI photo prompts guides. Which prompt did you try, and what came out? Let us know in the comments 👇